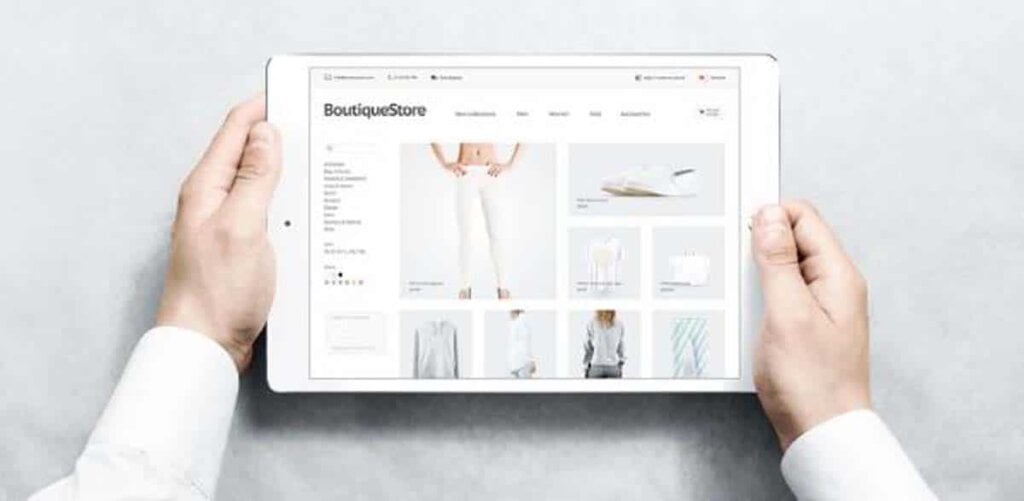
Your Shopify images have a huge impact on your brand image, conversion rates, as well as the loading time of your site’s pages.
It’s critical to choose the right images to showcase your products and create a great eCommerce customer experience.
From choosing and resizing images to writing alt descriptions, this guide will cover everything you need to know about images for your Shopify store.
Choosing Shopify images
Shopify allows up to 250 images on each of your product listings! Using this many photos would not be advisable, however, as it might flood your listings with images and negatively affect your page load speeds.
Product images
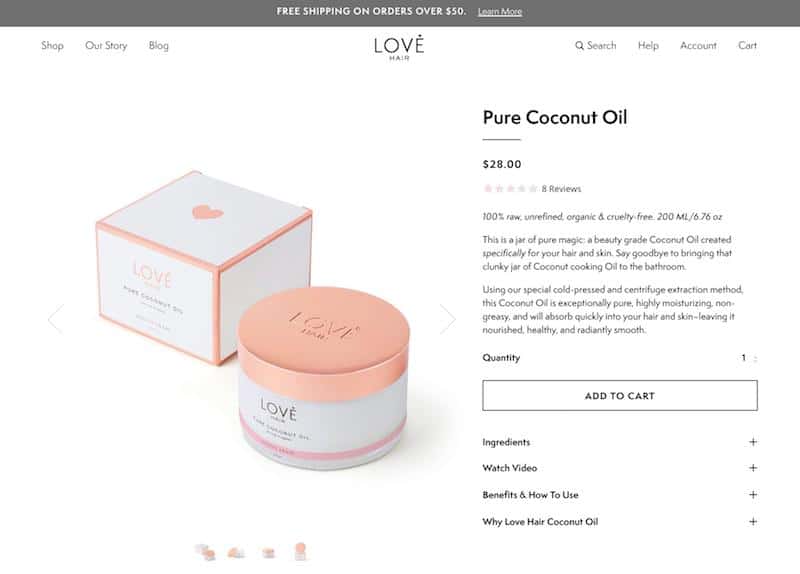
A picture is worth a thousand words. So the more product images you provide, the more information your visitors will have when making a purchasing decision. When customers know exactly what they’re buying, this drives conversions, reduces returns and minimizes negative feedback.
Provide standalone photos of the product from every angle, as well images of it in use. You can also use graphics to highlight certain aspects of a product, like size and features.
Make sure every product has a photo taken on a plain background. This can be used as your thumbnail image and will provide a uniform look when users browse your catalog.
Don’t just rely on generic manufacturer photos either, take some of your own too! This will help you engage users across your website and other eCommerce marketing channels.
Related article: How to Make a Killer eCommerce Product Video!
Banner and slideshow images
When opening an online store, the Shopify theme you use may require full-width banner images. They are often used in slideshows or with text overlay at the very top of a store’s home page – as seen in Shopify’s popular free theme ‘Brooklyn’.
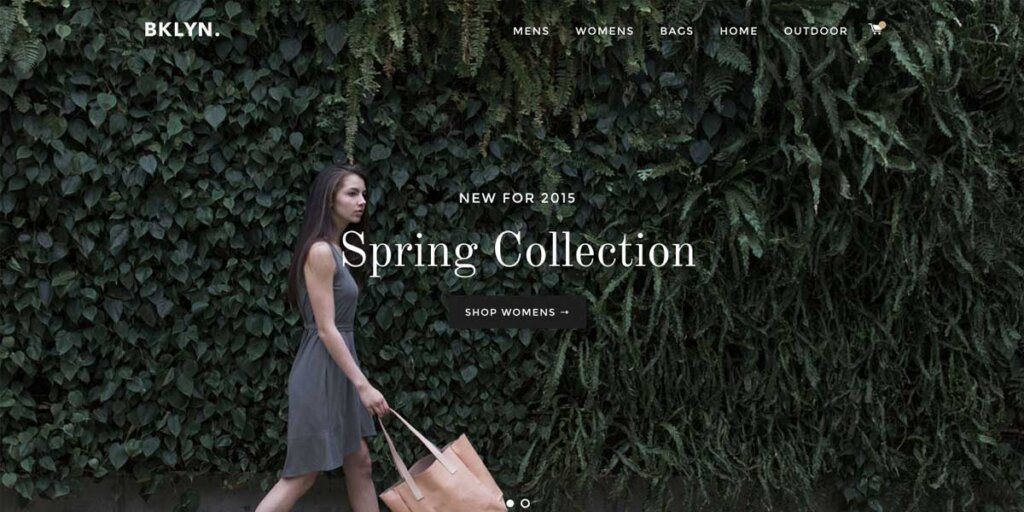
If you need a banner, you should use simple, high resolution images which don’t feature text. The sides of the image may be cropped to suit the device it is being viewed on, so keep this in mind too.
When looking for high quality, attention-grabbing banner images to use on your website, you could use a paid service like ShutterStock. But you can also find great stock images which are free for commercial use on websites like:
- Burst – the official platform for Shopify stock images
- Unsplash
- Gratisography
- FOCA
- Stock Snap
- Pexels
- ISO Republic
- Pixabay
- StokPic
- Picography
Shopify image formats
Shopify supports JPEG, PNG and GIF image formats. But if you upload another format, Shopify will automatically convert it to a JPEG or PNG.
Most Shopify images will be JPEGs, which is the best format for photos and strikes a balance between image quality and file size. Always choose this format when uploading photographs.
PNGs are the best format for graphics which don’t feature too many colors, like logos and icons.
Choosing your images sizes
When looking at Shopify images, you need to consider pixel size. This will determine the dimensions of your images.
The largest image dimensions that Shopify allows across its stores is 4472×4472 pixels, but this is the absolute maximum.
When choosing a Shopify banner image size, you need to take your specific theme’s guidelines into account. For example, in the Brooklyn theme mentioned above, Shopify recommends using 1200×800 pixel images.
For its product images, Shopify generally suggests using 2048×2048 pixels for square product photos. This is high quality enough to give your products a professional appearance and it will allow users to zoom in on products if they want to. Any images under 800×800 pixels won’t be zoomable.
Choosing a size for each of your image types and sticking with it is key to success. This way your images will appear consistently across your website.
To crop or change an image’s dimensions, you can use the Shopify image resizer tool. Shopify’s tool allows you to upload six photos at a time, select one of three preset sizes and click submit. The medium preset option is Shopify’s recommended product image size of 2048×2048 pixels.
However, the Shopify image resizer tool automatically crops rectangular images for you, offering limited control. Alternatives include PhotoShop, Canva, VistaCreate or PicResize.com.
Shopify Image file size
Striking a balance between image quality and size is essential when uploading Shopify images. While you want to impress visitors with beautiful, detailed images, you also need to make sure your images are small enough for your web pages to load quickly.
Large images impact site load times which, in turn, impact your Shopify store’s search engine rankings and conversion rates.
Research conducted by Google found that as page load times increase, so do the bounce rates. When load times increase from one second to three seconds, the probability of bounce among users is 32%. And if it increases to 10 seconds, this figure jumps to 123%.
Faster pages are better and one of the easiest ways to improve your site’s load times is to minimize the size of your images.
Although Shopify allows image sizes of up to 20MB, you’ll want to reduce your files down considerably further. Even if you don’t notice any loading delays, other site users will. Slow page load speeds have a detrimental effect on your site’s performance on Google, so keep them fast!
While you may be worried that reducing the file size of an image will affect its quality, this isn’t always the case. Compressed Shopify images can improve load times without any noticeable reduction in image quality.
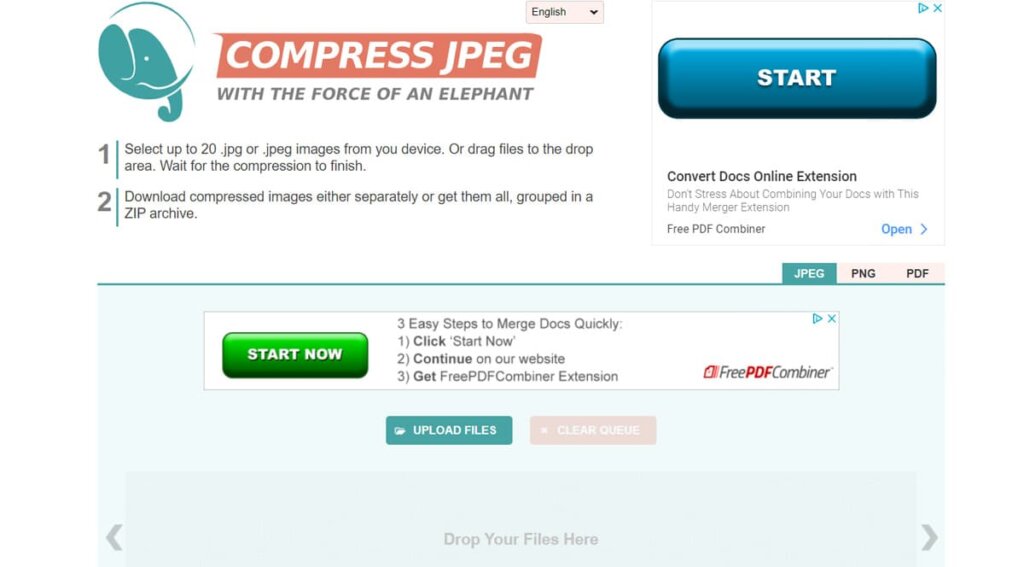
Shopify slightly compresses any large images uploaded to its stores. But this doesn’t offer users control over the specifics and is an unsuitable option for multichannel sellers. Instead, you can use a compressor tool and choose a quality setting of somewhere between 65 and 85 – around about 72 is probably best.
Alternatively, you can try this other Shopify image Resizer and Optimizer tool from the app store, which allows you to resize and compress your Shopify images at the same time. However, it only allows up to ten actions for free each month.
Uploading Shopify images
With your Shopify stock images chosen and your product photos sized correctly, it’s time to upload them to your Shopify store and complete two final tasks.
First of all, take a look to see how your Shopify images look on different devices. Make sure they’re attractive on mobile, medium desktops and wide-screen desktops.

Next, you can add alt text to each of your product images. This will be read out to visually impaired visitors or displayed if there is ever a problem with your images. Alt text might not seem very important but it helps optimize your website for search engines, so don’t forget to include it!
Click an image and you’ll see an option to add alt text. Alternatively, you can upload them in bulk using a CSV file. Write a clear product description based on what can be seen in each image. Shopify recommends keeping it to 125 characters or less.
Though it may seem time-consuming, website optimization and image quality are both key to creating a smooth user experience and will improve the visibility of your store.
Once you have a process in place, uploading great Shopify images will be second nature!